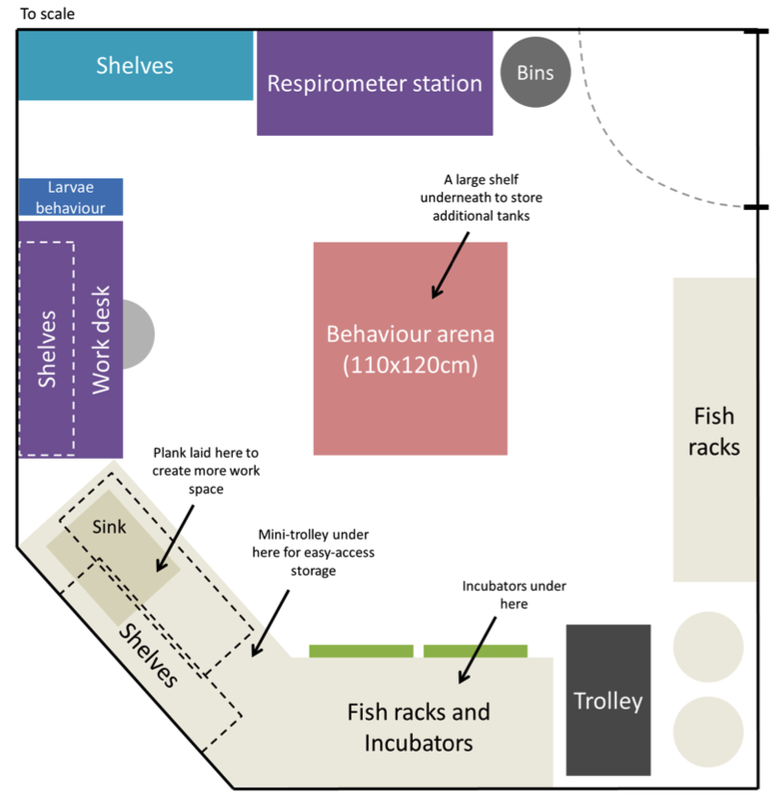
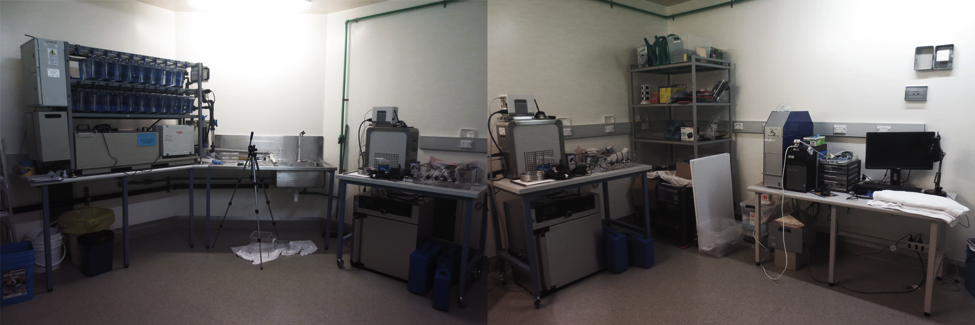
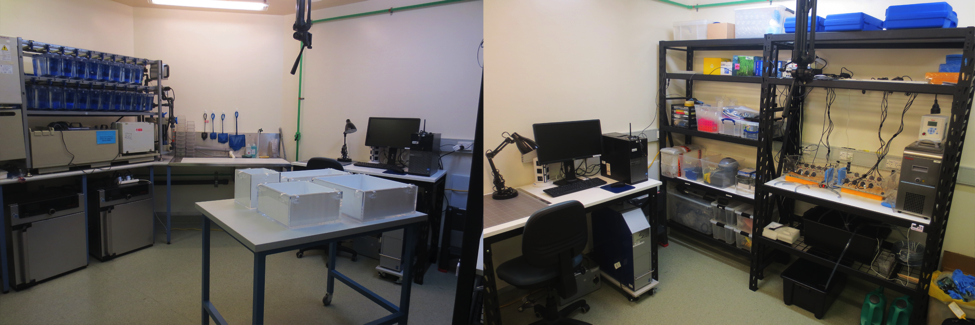
For my first I-DEEL blog, I wanted to introduce to you one of the main projects I have been delegated. This year, I will be setting up a behavioural ecology laboratory at The Garvan Institute of Medical Research. This lab, our ‘phenotyping room’, will be used by Rose O’dea as she explores behavioural syndromes in zebrafish. But until then, it is my job to get everything ready – from preparing the behavioural assays, to designing the layout of the room (with some help along the way, of course).
We were given a (nearly) empty room within the Biological Testing Facilities (BTF) at Garvan (already fit with two fish racks and a sink). It has since been up to us to furnish the room according to our needs. We have achieved a lot over the past four months. The room is almost finished, and I’ve learned a lot along the way. So, I wanted to use this blog to share some insight on four key things that you will need to transform a room into a laboratory:
|
1. A vision
So you’ve been asked to create a functional lab space out of an empty room? Congratulations! You have a lot of work ahead of you. But, if you tackle it right, it is also going to be a lot of fun. Before you jump straight into things, first make a plan. Take measurements, map out the room and view your space. This is your blank canvas, and you’ve been given the opportunity to create a piece of art – don’t rush into it, and take the time to figure out what resources you have at your disposal (for us, this involved connecting with the Garvan BTF and engineering staff, which have turned into our greatest assets). |
|
Pro-tip: Use PowerPoint to create a to-scale floor plan of your room. Go to Design > Page Set-Up and set the slide dimensions to the size of the room. Create shapes that fit the dimensions of your facilities by going to Drawing Tools > Size and manually set the size of the shape. Now you can move your facilities around your virtual room to decide on the best layout! |
My background in graphic design and veterinary nursing has meant that I have been ‘blessed’ with a somewhat dangerous combination of “Visually motivated” and “Total clean freak”.
The pros: Give me a label maker and a day and I can guarantee everything will have a place and nothing will ever get lost.
The cons: I am constantly faced with the battles of tidying up after those who don’t share the same enthusiasm in ‘storage solutions’ as I do, and the way I feel whenever I see the nest of wires presently hovering over our respirometer station.
The key to keeping your lab organised is finding a balance between ‘functional’ and ‘tidy’. Delegate a purpose to every corner of the room, and link every corner to the next to create a flowing floor plan. Embrace your label maker and simple (easy-to-access) storage solutions, and make the most out of the space that you have.
3. Flexibility
Be prepared to manage a lot of orders, and be prepared for a lot of mess-ups. One of the biggest fiascos we dealt with was ordering our modular shelves and work-bench: what should have arrived in one delivery took no less than three (ten, frustrating days). We were left dealing with missing parts and mystery gifts with every order, managing refunds where we were overcharged and making many, many phone calls (by my last phone call, I actually heard someone in the background ask if it was me calling again). Be flexible and plan ahead.
|
Pro-tip: Before you make any new purchase, it is a good idea to check with someone more in-the-know than you are. It could save you making an unnecessary purchase where there was another already available option, or making the mistake of ordering something unfit for your lab (in our case, the original work tops we ordered were not fit for a PC2 lab. Time would not have been wasted had we checked this first!) |
When things don’t go as planned, it’s time to get creative. This is more than just problem solving (which, at some times, may also require a bit of creativity). This is the ability to turn a problem into a solution. Here’s an example:
We recently ordered a fancy, new, three-tray trolley for our lab. It was delivered fast (with a complimentary packet of biscuits – score), but one of the trays had cracked during transit. The shop quickly sent us a replacement, but we were now stuck with a broken trolley. Instead of throwing the trolley away, I asked a member of engineering to create a miniature, two-tray trolley for us. What did we end up with? A trolley that fits perfectly under the sink, and which also perfectly stores all of the tanks for our behavioural assays (needless to say, I was excited by that unlikely storage solution).


 RSS Feed